Managing Disks
Editing
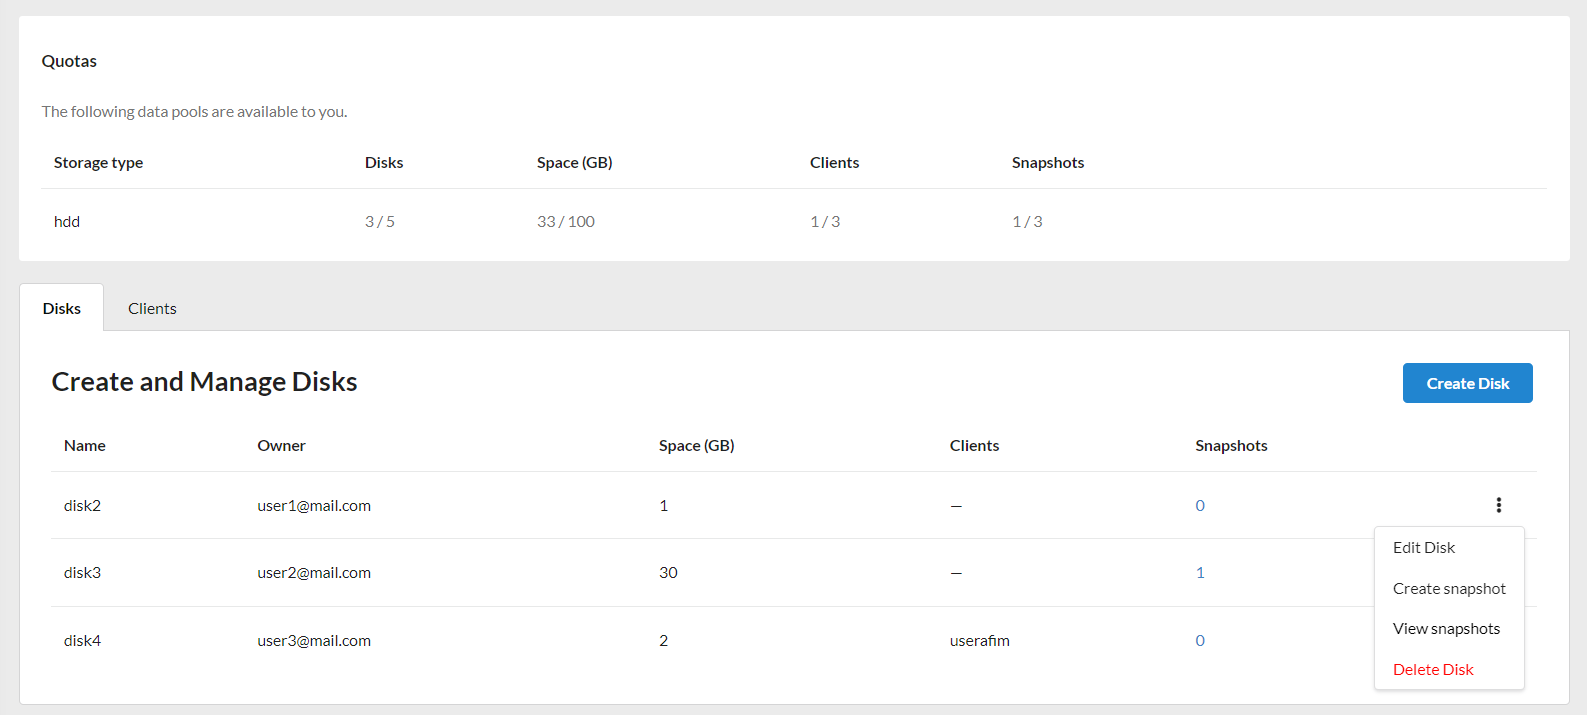
If necessary, you can increase the size of the previously created disk. To do this:
- In the
Diskstab on theiSCSI Storagepage, click on the action button of the required disk and selectChange disk. - Make changes to
Storage sizeand clickSave.
Note
The disk's name cannot be changed. To do this, you need to delete the disk and recreate. Changing the size of the disk is possible only upward.
Deleting
You can delete created discs. To delete a disk:
- In the
Diskstab on theiSCSI Storagepage, click on the action button of the required disk and selectDelete disk. - Enter a name for the disc and click
Delete Disc. This action will irreversibly delete the disk and all data stored on it.
Note
A disk cannot be deleted if it has a client. In this case, you must first separate the disk from the client, and then delete the disk. Also a disk cannot be deleted if it has a snapshot, you need to delete the snapshots and only then delete the disk.
Snapshots
Snapshot creation
- In the
Diskstab on theiSCSI Storagepage, click on the action button of the required disk and selectCreate Snapshot. -
In the modal window that appears, fill in the fields:
Name- snapshot name;
Description(optional field).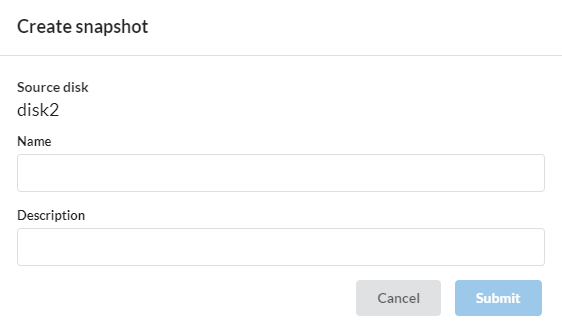
Click
Save.
The created snapshot will be displayed on the Snapshots page. On this page, you can also create snapshots and view previously created ones.
To go to this page, you need to click on the number of snapshots of the selected disk, or click on the action button and select View Snapshots.
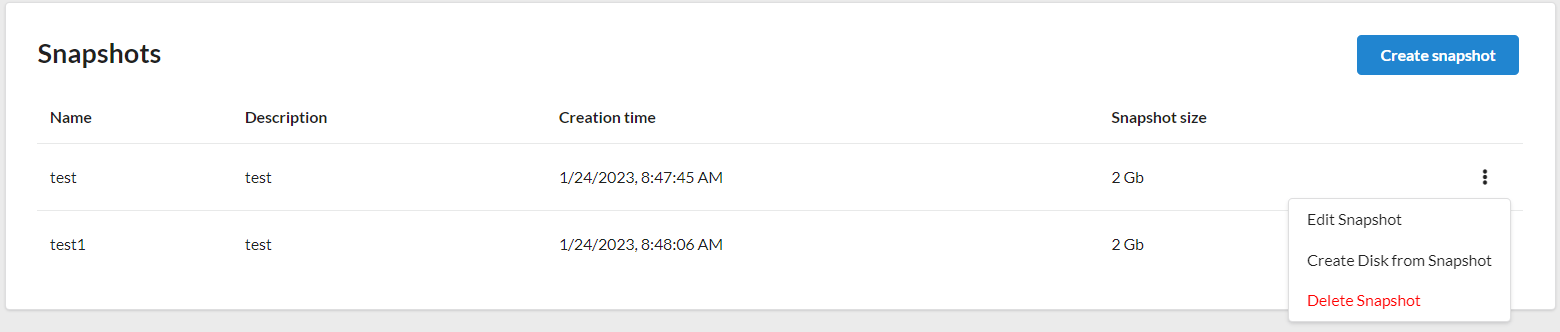
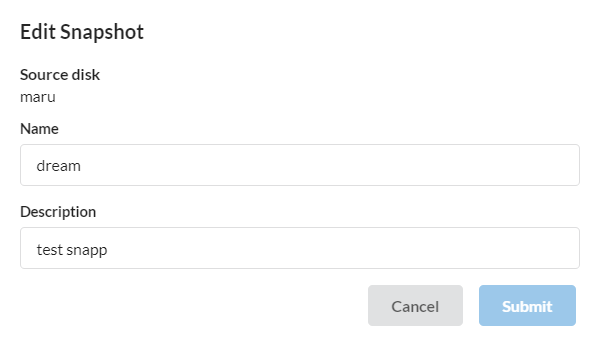
Snapshots editing
You can edit snapshots of your disks. To edit a snapshot:
- On the
Snapshotspage, click on the action button of the required snapshot and selectEdit Snapshot. - Change the
NameandDescriptionof the snapshot, and clickSave.
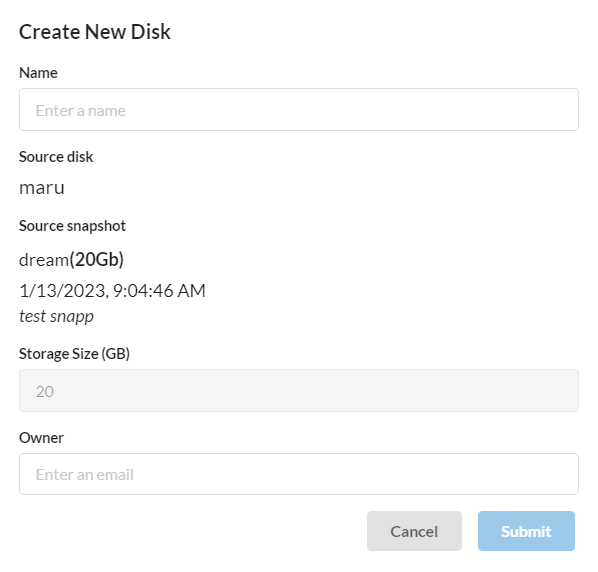
Create disk from snapshot
You can also create a new disk from the selected snapshot. For this:
- On the
Snapshotspage, click on the action button of the required snapshot and selectCreate Disk from Snapshot. - In the modal window that appears, fill in the
Nameof the disk and the email of theOwner, and clickSave.