Access to Virtual Machine
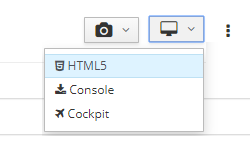
There are several ways to access virtual machines. All of them are available from the Instances block where you can view access options after clicking the screen icon.
HTML5 console
The HTML5 console is direct access from the browser and provides access to the virtual server's display, keyboard, and mouse. The screen resolution displayed in the browser can be set in the operating system.
To gain access to the virtual machines of the service, you need to press HTML5.
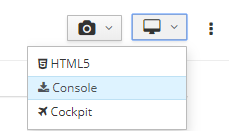
Remote Console
Alternative to the HTML5 console.
Access Setting
To connect to a virtual machine using the SPICE or VNC protocols using a locally installed console client, firstly download and install the virt-viewer client.
- For Windows, go to Virtual Machine Manager then download and install the
MSI version of virt-viewer - GNU / Linux:
yum install virt-viewerorapt-get install virt-viewer
To work with the console, it is necessary that the installed VNC Viewer is associated with files of the .vv format downloaded by clicking on the Console button.
Note
The recommended virt-viewer can be replaced by any other VNC Viewer.
Usage
Click Console in the drop-down menu:
Then, after downloading the console, open it. Your console will be ready for use automatically and the console file will be deleted:

Note
Make sure to open the console file within the 2 minutes after download, otherwise, it will expire.
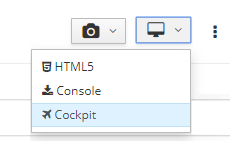
Cockpit Console
Info
This type of connection is not always available and depends on the location settings and the specific VM image.
Cockpit is a web-based server management console for Linux developed by Red Hat.
Note
To connect to the Cockpit console, you need to accept a certificate.
Access via IP
Connecting to a Windows Server
- Start Remote Desktop Connection. This can be done, for example, via
Start->All Programs->Accessories->Remote Desktop Connection. Or you can typeWin + Rand entermsts, thenEnter. - In the window opened you should enter the IP address specified in the email you have received after the service provisioning.
- Then you should enter the user name (usually
Administratoror user name) and the password sent in the email. - The connection process will start.
Connecting to a Linux Server
- Download an additional PuTTY program.
- Start PuTTY.
-
In the window opened enter the
IP-address(specified in the email) in theHostName (or IP Address)field. All other parameters remain with the default values.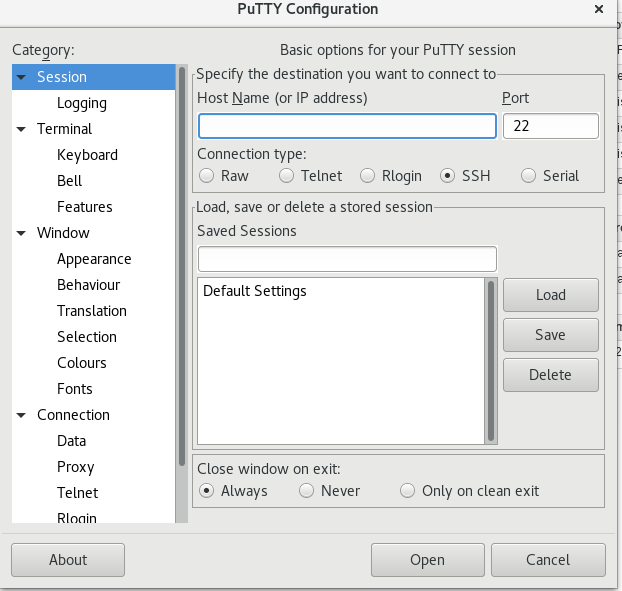
-
Click
Open. - If it is your first start, you will be prompted to add the Host link to the PuTTY cache. You should click
Yes. -
Then you need to enter the user name
rootand the password specified in the email.Note
Some distributions do not allow root ssh access. For most images, the
adminuser will be used by default. -
If the previous data were entered correctly, you will see a message indicating that the entry was successful.